1.4 JavaScript Basics: Bringing Mario to Life
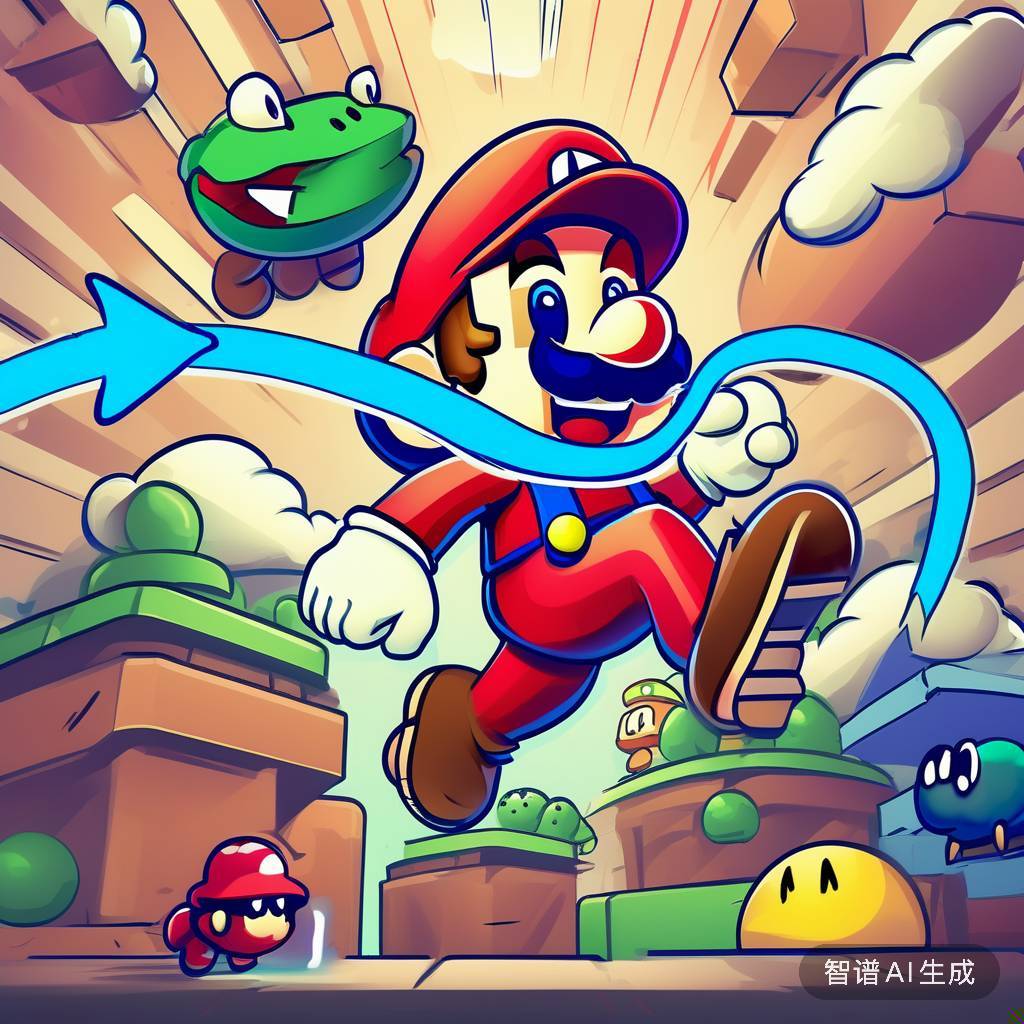
Welcome back, young game developers! In our previous lessons, we've built the colorful world of Super Mario Bros. using HTML and CSS. Now, it's time to add some magic to our game with JavaScript. We're going to make Mario move and jump, and even get the Goomba to walk around on its own. Exciting, right? Let's dive in!
What is JavaScript?
Before we start making Mario dance across our screen, let's take a moment to understand what JavaScript is. Imagine you're building a fantastic treehouse. HTML would be the wood and nails that form the structure, CSS would be the paint and decorations that make it look cool, and JavaScript? Well, JavaScript is like the secret mechanisms that make your treehouse come alive!
JavaScript is a programming language that allows us to add interactivity and dynamic behavior to our web pages. It's like giving our web page a brain and teaching it to think and react!
JavaScript is like the wizard of the web world. It can make things move, change, and interact on our web pages. While HTML is the structure and CSS is the style, JavaScript is the behavior. It's what makes websites come alive!
Making Mario Move
Remember how we left Mario standing still in our game? Well, not anymore! We're going to use JavaScript to make him move left and right when we press the arrow keys.
Let's look at the code we already have:
const mario = document.querySelector(".mario");
let position = 50;

document.addEventListener("keydown", (e) => {
  if (e.key === "ArrowRight") {
    position += 10;
    mario.style.left = `${position}px`;
  } else if (e.key === "ArrowLeft") {
    position -= 10;
    mario.style.left = `${position}px`;
  }
});
Let's break this down:
const mario = document.querySelector(".mario");finds our Mario element in the HTML.let position = 50;sets Mario's starting position.document.addEventListener("keydown", (e) => { ... });listens for when we press a key.- Inside the event listener, we check if the right or left arrow key was pressed.
- If right arrow is pressed, we increase
positionby 10 and move Mario right. - If left arrow is pressed, we decrease
positionby 10 and move Mario left.
Now, let's add the jumping ability!
let isJumping = false;

document.addEventListener("keydown", (e) => {
  if (e.key === "ArrowRight") {
    position += 10;
    mario.style.left = `${position}px`;
  } else if (e.key === "ArrowLeft") {
    position -= 10;
    mario.style.left = `${position}px`;
  } else if (e.code === "Space" && !isJumping) {
    jump();
  }
});

function jump() {
  isJumping = true;
  let jumpHeight = 0;
  const jumpInterval = setInterval(() => {
    if (jumpHeight >= 150) {
      clearInterval(jumpInterval);
      fall();
    } else {
      jumpHeight += 5;
      mario.style.bottom = `${150 + jumpHeight}px`;
    }
  }, 10);
}

function fall() {
  let fallHeight = 150;
  const fallInterval = setInterval(() => {
    if (fallHeight <= 0) {
      clearInterval(fallInterval);
      mario.style.bottom = "150px";
      isJumping = false;
    } else {
      fallHeight -= 5;
      mario.style.bottom = `${150 + fallHeight}px`;
    }
  }, 10);
}
Here's what's new:
- We added a Space key check to make Mario jump.
- The
jump()function makes Mario go up. - The
fall()function makes Mario come back down. - We use
setInterval()to create smooth animations.
Making Goomba Move
Now, let's make our Goomba move on its own!
const goomba = document.querySelector(".goomba");
let goombaPosition = 500;
let goombaDirection = -1;

function moveGoomba() {
  goombaPosition += goombaDirection;
  goomba.style.left = `${goombaPosition}px`;

  if (goombaPosition <= 0 || goombaPosition >= 800) {
    goombaDirection *= -1;
  }

  requestAnimationFrame(moveGoomba);
}

moveGoomba();
This code does the following:
- We find the Goomba element and set its starting position.
- The
moveGoomba()function changes the Goomba's position. - We change direction when Goomba reaches the edges of the screen.
requestAnimationFrame()makes the animation smooth.
Putting It All Together
Now, let's see how our complete JavaScript code looks:
<!DOCTYPE html>
<html lang="en">
  <head>
    <meta charset="UTF-8" />
    <meta name="viewport" content="width=device-width, initial-scale=1.0" />
    <title>Super Mario Bros.</title>
    <link
      href="https://fonts.googleapis.com/css2?family=Press+Start+2P&display=swap"
      rel="stylesheet"
    />
    <style>
      body,
      html {
        margin: 0;
        padding: 0;
        height: 100%;
        font-family: "Press Start 2P", cursive;
      }
      .game-container {
        width: 100%;
        height: 100%;
        background-color: #5c94fc;
        position: relative;
        overflow: hidden;
        box-shadow: inset 0 0 100px rgba(0, 0, 0, 0.3);
      }
      .stats {
        display: flex;
        justify-content: space-around;
        padding: 8px;
        color: white;
        font-size: 22px;
        font-weight: bold;
        text-align: center;
      }
      .title {
        position: absolute;
        top: 200px;
        left: 100px;
        background-color: #e86a17;
        color: #ffd8d8;
        padding: 16px;
        font-size: 52px;
        font-weight: bold;
        text-align: left;
        line-height: 70px;
        border-radius: 8px;
        text-shadow: 8px 8px #000;
        box-shadow: 4px 4px #000;
      }
      .copyright {
        position: absolute;
        top: 382px;
        left: 426px;
        color: #ffd8d8;
        font-size: 20px;
      }
      .cloud {
        position: absolute;
        top: 200px;
        right: 200px;
        width: 140px;
        height: 100px;
        background-image: url("https://www.weblab.fun/img/tutorials_frontend_development/mario_game/cloud.png");
        background-size: contain;
      }
      .block {
        position: absolute;
        width: 40px;
        height: 40px;
        border: 1px solid #000;
        text-align: center;
        line-height: 40px;
      }
      .block1,
      .block3,
      .block5 {
        background-image: url("https://www.weblab.fun/img/tutorials_frontend_development/mario_game/block.png");
        background-size: cover;
      }
      .block2,
      .block4 {
        background-image: url("https://www.weblab.fun/img/tutorials_frontend_development/mario_game/question_block.gif");
        background-size: cover;
      }
      .block1 {
        bottom: 300px;
        right: 320px;
      }
      .block2 {
        bottom: 300px;
        right: 280px;
      }
      .block3 {
        bottom: 300px;
        right: 240px;
      }
      .block4 {
        bottom: 300px;
        right: 200px;
      }
      .block5 {
        bottom: 300px;
        right: 160px;
      }
      .mario {
        position: absolute;
        z-index: 1;
        bottom: 150px;
        left: 50px;
        width: 35px;
        height: 40px;
        background-image: url("https://www.weblab.fun/img/tutorials_frontend_development/mario_game/mario.png");
        background-size: cover;
      }
      .goomba {
        position: absolute;
        z-index: 1;
        bottom: 150px;
        left: 500px;
        width: 40px;
        height: 40px;
        background-image: url("https://www.weblab.fun/img/tutorials_frontend_development/mario_game/goomba.gif");
        background-size: cover;
      }
      .hill {
        position: absolute;
        bottom: 150px;
        width: 300px;
        height: 150px;
        background-image: url("https://www.weblab.fun/img/tutorials_frontend_development/mario_game/hill.png");
        background-size: cover;
        border-radius: 50% 50% 0 0;
      }
      .hill1 {
        left: 0px;
      }
      .hill2 {
        right: 200px;
        width: 200px;
        height: 100px;
      }
      .ground {
        position: absolute;
        bottom: 0;
        width: 100%;
        height: 150px;
        background-image: url("https://www.weblab.fun/img/tutorials_frontend_development/mario_game/ground.jpg");
        background-repeat: repeat-x;
        background-size: contain;
      }
    </style>
  </head>
  <body>
    <div class="game-container">
      <div class="stats">
        <span>SCORE<br />0</span>
        <span>COINS<br />0</span>
        <span>WORLD<br />1-1</span>
        <span>TIME<br />378</span>
        <span>LIVES<br />3</span>
      </div>
      <div class="title">SUPER<br />MARIO BROS.</div>
      <div class="copyright">©1985 NINTENDO</div>
      <div class="cloud"></div>
      <div class="block block1"></div>
      <div class="block block2"></div>
      <div class="block block3"></div>
      <div class="block block4"></div>
      <div class="block block5"></div>
      <div class="mario"></div>
      <div class="goomba"></div>
      <div class="hill hill1"></div>
      <div class="hill hill2"></div>
      <div class="ground"></div>
    </div>
    <script>
      const mario = document.querySelector(".mario");
      let position = 50;
      let isJumping = false;

      document.addEventListener("keydown", (e) => {
        if (e.key === "ArrowRight") {
          position += 10;
          mario.style.left = `${position}px`;
        } else if (e.key === "ArrowLeft") {
          position -= 10;
          mario.style.left = `${position}px`;
        } else if (e.code === "Space" && !isJumping) {
          jump();
        }
      });

      function jump() {
        isJumping = true;
        let jumpHeight = 0;
        const jumpInterval = setInterval(() => {
          if (jumpHeight >= 150) {
            clearInterval(jumpInterval);
            fall();
          } else {
            jumpHeight += 5;
            mario.style.bottom = `${150 + jumpHeight}px`;
          }
        }, 10);
      }

      function fall() {
        let fallHeight = 150;
        const fallInterval = setInterval(() => {
          if (fallHeight <= 0) {
            clearInterval(fallInterval);
            mario.style.bottom = "150px";
            isJumping = false;
          } else {
            fallHeight -= 5;
            mario.style.bottom = `${150 + fallHeight}px`;
          }
        }, 10);
      }

      const goomba = document.querySelector(".goomba");
      let goombaPosition = 500;
      let goombaDirection = -1;

      function moveGoomba() {
        goombaPosition += goombaDirection;
        goomba.style.left = `${goombaPosition}px`;

        if (goombaPosition <= 0 || goombaPosition >= 800) {
          goombaDirection *= -1;
        }

        requestAnimationFrame(moveGoomba);
      }

      moveGoomba();
    </script>
  </body>
</html>
Wrapping Up
Congratulations, young coders! You've just brought Mario to life and made Goomba move on its own. This is the power of JavaScript - it can make your web pages interactive and fun!
Remember, this is just the beginning. There's so much more you can do with JavaScript. You could add coin collection, make Mario grow when he eats a mushroom, or even create multiple levels!
Additional Resources
If you want to learn more about JavaScript, check out these resources:
Keep coding, keep learning, and most importantly, keep having fun! In our next lesson, we'll learn about version control with Git, so we can keep track of all the awesome changes we make to our game. See you then!